How to run an interactive workshop in Zoom

Note: This is part 1 of a 2 part series. Part 2 is here >

Over the last couple of months, I’ve run a lot of interactive workshop sessions using Zoom — including all the live sessions in the Workshop Creator program, as well as the free Express versions of the program that run in a fast-paced 90 minutes timeframe.

While live sessions within a large program tend to have enrolment and connection already forged and fostered, a one-off live online workshop has a different dynamic, and needs a different approach.

A lot of people in the Express sessions said they really enjoyed the format ( ‘a lot of online stuff is so dry!’), and several asked me how I put it all together.

This guide dives into some of the nuts and bolts of setting up and delivering a successful interactive workshop, live and online.

Before getting stuck in, a few notes:

  • This guide focuses on the more practical aspects of setup and delivery. No doubt, this stuff is important but the real magic is in the design of the session, the content, and the experience. Pro tip: you should allow at least 5x the time for design as delivery
  • This guide takes the use case of creating a publicly-accessible workshop where some/all attendees don’t know each other. If you’re running a workshop for a team or group who know each other already, you may want to adjust some of the suggestions here. Just like any recipe, you can adjust a few ingredients, toppings, and condiments to your taste.
  • I’m currently using the Zoom Pro plan. One of the main upsides of this plan is it extends the meeting length limit (it’s 40 minutes on the free plan). In my opinion, a decent workshop needs 45 minutes at the very least. Thus, it’s a smart play by Zoom — just about everything else I need is available on the free plan, but the duration thing is a dealbreaker.
  • As this guide focuses heavily on the Zoom platform it’s worth me mentioning I don’t work for Zoom, nor are there any affiliate links in this post.
  • Just like all the Workshop Creator programs we offer, this is, as one attendee put it — all delightfully meta. The metagame is wonderful in some ways (you can learn from the experience itself), and frustrating in others (it can get a bit confusing, and holes are far more easily exposed — ‘do as I say, not as I do’). This is to say, just like in workshops themselves, much of the learning is in the mistakes. Hopefully there aren’t too many mistakes in here… and those mistakes are, of course, learning opportunities 🙂

Ok, that’s enough of the boring caveat stuff. Let’s get into it!

Design

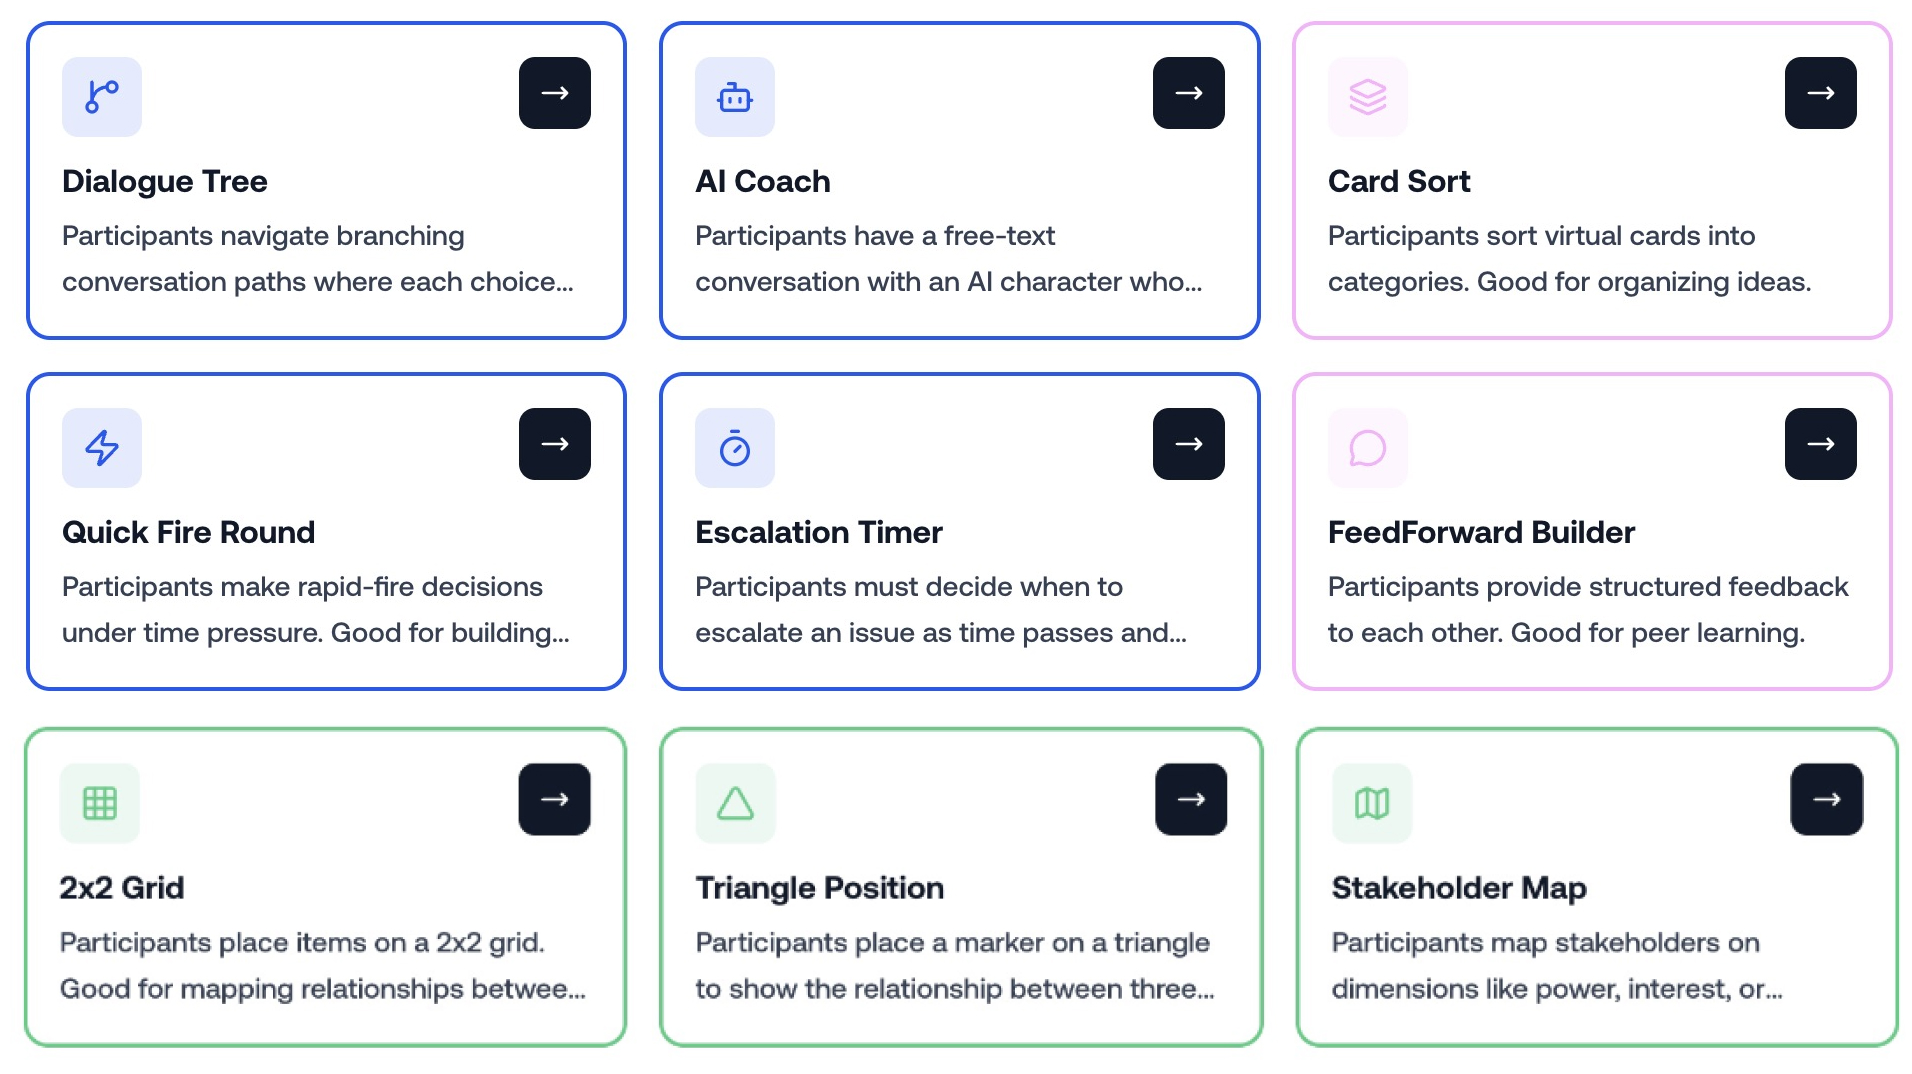
There are lots of different ways you can design a workshop. Here’s the design I used for the Workshop Creator Express sessions:

Open

  • 3 min assembling
  • 2 min intro
  • 5 min content bit
  • 8 min breakout
  • 2 min regroup & setup

Explore

4 x 15 min Sprints:

  • 7 min content bit (3 scenes, 2 mins each)
  • 7 min team breakout
  • 1 min reset / rotate

Close

  • 7 min Q&A / Pair Reflection
  • 3 min wrap

Bonus

  • 10 min Q&A

Honestly, this plan is a squeeze, and I had to work hard to keep it all moving and finish on time. I suggest keeping your session plan a bit lighter with more flex in it, but you can definitely pull off this version with a good bit of planning and practice.

I’ll reference this design in more detail during the delivery part of this guide.

Before that, let’s start at the beginning — our Zoom setup.

In Advance

I’m going to assume you’ve got a Zoom account, and you know your way around it a bit. If not, there’s a ton of help guides, webinars and other stuff on their site.

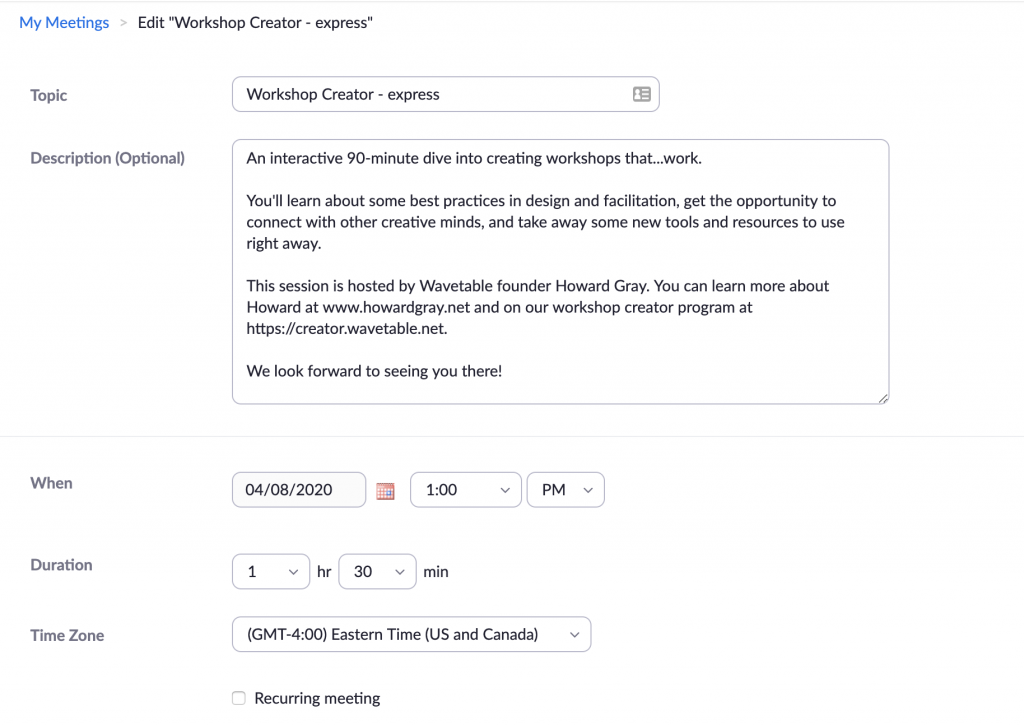
First, set up a new Meeting in your Zoom account.

Note: You don’t want a webinar. A lot of people think they’re the same thing as workshops — they’re not. Webinars lean more passive, workshops more active. We want active.

So, you’re setting up a meeting. It’s more active and more open than a webinar. However, you want to put a few constraints in place to keep things moving smoothly, to reduce any nerves or overwhelm you may (will) have, and to prevent any Zoom bombing — you definitely don’t want that.

Go to My Meetings > Schedule a new Meeting

I’ll skip the basic stuff — you probably know about Meeting Titles, Times and all that good stuff.

Let’s jump straight to the business end of things.

Meeting Options

  • Registration: On. You want people to register for this. It helps you track numbers, plan activities, and communicate with them before and after the workshop
  • Meeting ID: I’d advise against using your personal meeting ID. You’ll probably be using this for your day to day meetings and catchups with your family (hi Mum!). Having your grandma, cousin, and 5 year old nephew rolling in to your workshop unannounced may not be the vibe you’re going for. (Btw, this isn’t shown in the screenshot above as I’d pre-set the ID)
  • Meeting Password: Off. You can set a password if you like, but I’d suggest leaving it switched off. It’s an extra hurdle for attendees, and re-sending passwords to people is a pain — you don’t want to be fielding questions in your inbox about lost passwords 3 minutes before (or after) the workshop starts.
  • Video: You want video for Host and Participants to be on — audio only (especially for people who don’t know each other) feels weird. You can feel assured this is important as I hate being on video yet I’m still strongly recommending it 🙂
  • Audio: I usually leave ‘both’ on by standard, but telephone dial-in means people are going to be on audio, which makes the above point moot. On the flip side, you want the workshop to be accessible — not everyone has fast internet or a computer, so I suggest leaving it set to Both.

Meeting Options

  • Enable join before host: No. You’re going to want a bit of time to get set up and settled in, especially in your first few workshops. Having participants in the meeting, looking at you expectedly, is not going to help your prep (and besides, we don’t want them to see all our magic tricks…)
  • Mute participants upon entry: Yes. This makes our introduction bit easier. Background noise, random conversations, phones ringing in the virtual vortex — none of this is going to help us. Set everyone on mute by default.
  • Enable waiting room: Yes. There are two schools of thought on this — some people like to allow people to arrive as soon as they like (once you’ve started the Zoom meeting), others prefer to have the waiting room set up. I’ve tried both, and while allowing people to jump straight in presents opportunities for nice icebreakers and setup info (e.g. sharing an intro slide; asking people to share something about themselves / their work in the chat), there are a few downsides:
  1. People may not engage with the icebreaker prompt, thus eroding trust and vibes before you’ve event started;
  2. Participants can show up at any point, meaning you don’t know exactly when to start (catching people up online is harder than in-person)
  3. Latecomers can throw you off your game; you’ll notice them arriving as you’re talking

For these reasons, I go with the waiting room option. When a participant tries to join the meeting, they’ll see a screen that looks like this until you let them in. This is good for you as a host because you can monitor how many people are waiting, match it against your signup list to see how close to a critical mass you are, and also message all the waiting participants if you need to.

Once you’ve done all of this, hit Save Meeting.

Yay! Meeting created.

The meeting will now be in the My Meetings part of your Zoom account.

Pro Tip: if you’re running your session multiple times but it’s not a recurring meeting (I.e. Each participant attends once, rather than something like a weekly team meeting), you can save the Meeting as a Template which can then be used to create all your other dates. Just be sure to complete all the steps below before you do this, otherwise you’ll end up multiplying your workload. And you don’t want that.

Registration Settings

You’re nearly done, but you’re not quite done yet. You’ll need to get the word out about the workshop and ensure people can signup easily. There are some things you can do in Zoom to help make the marketing and onboarding part of your workshop a bit smoother.

Go to the Meeting page, scroll down, and you’ll see a nice registration link like this:

Copy the link and pop it into a new tab. You should see a nice little landing page where people can register for the session. Sweet.

Looks good, but you can make this a bit more dynamic.

At the bottom of the page, you’ve got options to view Registrations, Email Settings, and Branding.

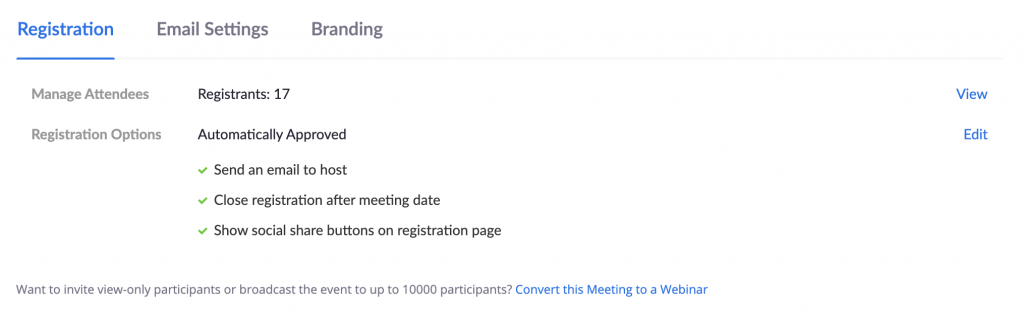
Click view Registrations and, as you may expect, you’ll see a list of everyone who’s registered so far with their name, email, and timestamp of the registration. This is probably at zero for now, but it won’t be soon 🙂

There are a couple of things you can do to improve the registration process.

If you hit Edit on the Registration Options section, you’ll see a modal appear. Let’s go through them one by one.

Registration Options: Tab One

  • Approval. Whether automatic or manual is up to you. I default to Automatic — again this is for a public-facing session, and making it manual is just another step for both you and participants. For a public-facing session, you want to reduce friction.
  • Notification: Set this to On. You’ll update this in a minute.
  • Other Options: I leave these to On, but again up to you.

Registration Options: Tab Two

  • Questions: In the next tab are Questions. Zoom has made sure First Name and Email Address are grabbed by default. As for other fields, you can go wild in here. I usually request Last Name, City, and Country. Once again, no need to add a load of friction. I want participants to be able to sign up in under 30 seconds.

Registration Options: Tab Three

  • Custom Questions: Finally, there are Custom Questions you can add. To keep the friction minimal, I suggest a maximum of 3. Here are two I ask:

Save all this, and jump back to the meeting page again. Next, Email Settings.

Email Settings

The Email Contact is going to be your Zoom account email by default. Change this if you like, but it’s probably easier to leave it as it is.

It’s worth taking a few minutes to update the next field — Confirmation Email to Registrants. I add some information about what to expect, anything participants need to bring, and a link to my website. Unfortunately, Zoom doesn’t parse weblinks into these emails so don’t include a ton of linked resources as it’s unlikely they’ll arrive in inboxes as clickable links. A few lines of info will definitely help though — you want to make life easy for your participants…because it’ll also make life easier for you 🙂

Branding

Ok, last thing — Branding. Zoom is pretty constrained with sizing of logos on the registration page — best to keep the image fairly small as it can look pretty ugly when blown up big on the page.

Once you’ve prettied up your page, you’re all set! It’s time to share your workshop with the world!

Phew, that was a lot. It may have taken a little while to get this all done, but you can always template the meeting (see above) which saves a ton of time, and as with many things in life — it’s all about practice.


Keep exploring

Wavemakers
Richie Hawtin’s next musical frontier? High school science class
How a DIY noise machine became a portal for learning & creativity - courtesy of a legendary electronic music artist
Instruments
Introducing the Presentation Elevation Tool
A free tool packed with unconventional prompts to help you get unstuck
Instruments
What's Your Presenter Type?
Our free self-assessment tool will help you level up your presentation skills
Instruments
Welcome to Edutainment 3.0 - a Wavetable trends report & workshop series
Brands as Neo Educators; Teachers as the new DJs; Play to Learn to Earn. These are just three of the trends in our upcoming trends report. Get first access, plus the opportunity to join our team for a series of exclusive live workshops.